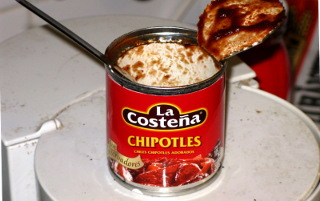
| You've seen the cool FLIR infrared cameras on Myth Busters. Those used to be very expensive, but now there's plenty of excellent thermal cameras made by a bunch of companies, with good resolution and sensitivity, for just a couple hundred euros/dollars. That's still too much scratch to justify, if it were just for a cool toy, however. But when I found myself designing switch-mode power supplies for various rocket electronics, I realized how useful a thermal camera would be to check for anything overheating! So I laid down a couple of banknotes for a UNI-T UTi260B and its macro lens UT-Z002. It's a cool toy. |
|
|
|
What can I say, it's the first thermal imager I've had, or even used,
so not much to compare it against. Its build quality is good,
it's rated to stand
accidentally dropping (though I'll try to avoid doing that), the battery
lasts hours, there's a USB-C port for charging or PC connection, and
there's a micro-SD slot for saving images. A 32 GB Kioxia micro-SD
is provided. There's a variety of color schemes available, though I like
the classic default "Iron".
The black-and-white "white hot" or
"black hot" might be useful when analyzing saved pictures
later on, to determine spot temperatures from the image. And there's a
visible-light camera as well, with picture-in-picture or blended modes
available, if you need to correlate the IR image with the
visible-light one. Or you can just use the expensive device as a
relatively crappy digital camera, if you like. I can criticize, though. The trigger for saving images is a bit finicky—if you press it too long, it does nothing. You need to press it very briefly, then it works fine. And there's no lens cap! That's crazy! I'll have to design one and get it 3d-printed. In the spirit of planned obsolescence, the standard-size 26650 Li-ion battery is not designed to be replaced! But there is info on YouTube on how to non-destructively open up the camera, should battery replacement become necessary. Essentially, pry out one of the rubbery U-shaped pieces in the grooves of the handle, to find two screws underneath. Then warm up and peel off the plastic face of the display, to find two more screws under that. Then take it from there as you best see fit. (I've never done it, so no guarantees.) |
|
|
The thing is charged from its USB-C port—how else. I've seen rumors
on the Net, stating that USB PD chargers may somehow provide a
higher-than-normal voltage (impossible though that should be),
causing the camera to overheat while charging. Just to be safe, I'll stick
to stupid old 5V-only chargers. It's just that this thermal camera is
the only thing that I can't thermally image with this camera! The USB-C port can also be used to connect to a computer. UNI-T makes some kind of Windows (*shudder!*) software for viewing the live image, storing pictures, and perhaps some rudimentary analysis, I'm not sure. On Linux, it appears as a fairly standard webcam device. While e.g. cheese does not play anything useful from it, yada yada yada will show the live image with minimal coercing: I've understood that, through the lengthy menus, you can make this camera appear as a USB mass storage device instead. Good to have that option, I guess, in case you can't afford an SD card reader? |
|
|
More useful than using it as a webcam, are the still pictures that are
captured to micro-SD card and easily transferred from there with a
card reader. Every time you take a picture, it stores a JPG and a BMP file.
The former is an image from the visible light camera (which may be fully
black, if you were using the macro lens); the latter is the
thermal image. The BMP also contains some additional data, whereby you can use Santi-hr's UNI-T-Thermal-Utilities to extract a clean thermal image without any of the on-screen metadata such as temperature scale, point measurements, battery status and such. That can make for a nicer image, but as the author warns, the temperature values may be inaccurate, and you'll do better using the point measurement functions of the camera directly. From what I've read on the Net, the official UNI-T software doesn't do much more than that, either. Certainly nothing worth the pain of running Windows without paid professional IT support. |
|
|
These type of cameras don't come with any kind of focus controls. They are
designed to provide an adequately sharp image when used at some
minimum distance from the subject, and that's it. But while that's
great for locating heat leaks in houses, it just doesn't help in locating
exactly which component generates the heat in a postage stamp sized
SMPS. Which is where the UT-Z002 macro lens
comes in. It snaps onto the front of the camera, and focuses some
5 cm in front of the lens. You really do want one of these if
you're more into electronics than winter-proofing houses. Note that you
lose the visible-light camera when this lens is attached—no
biggie. You could save a few euros by buying an IR lens from AliExpress or the other usual suspects (the lenses are used in IR laser cutters, and pretty widely available and relatively cheap) and 3d printing a holder for it. Best of all, you can choose from several different focal lengths! (I'm happy enough with the original UT-Z002, however, and I'm not presently looking to expand my selection of focal lengths.) Or you can even find ready-made third party 3d printed assemblies, lens and all, for somewhat less than the UNI-T original. |
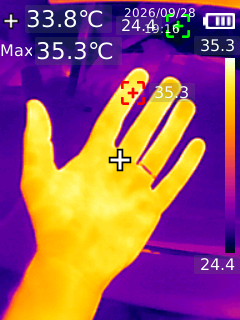
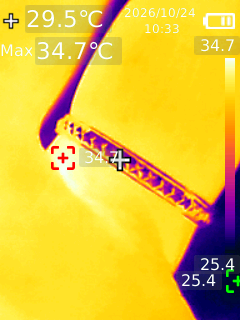
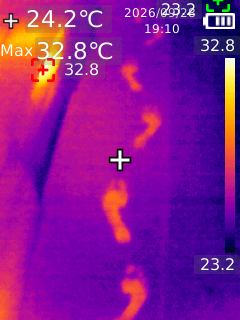
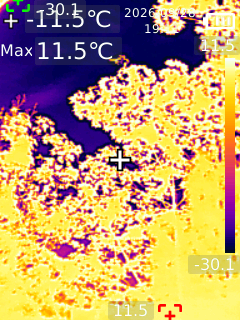
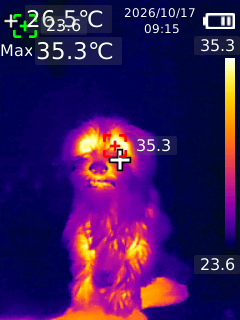
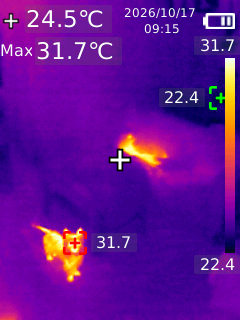
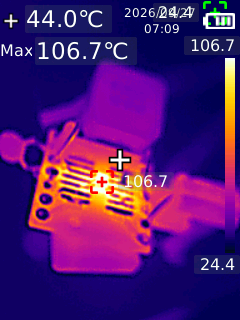
Here's the obligatory gallery of thermal images. Click the image to see a scaled-up version of the image—the more "artistic" ones have been cleaned up using UNI-T-Thermal-Utilities:
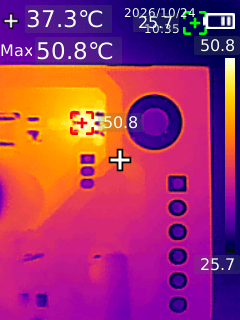
I really do wish this thing came with a lens cap.